Monday 27 August 2012

RG Promo Videos

Have to blog this for my favorite line of Gunpla: Real Grade! Excitement Embodied!
Sadly some of them don't have promotional videos

RG #10: MSZ-006 Zeta Gundam (promotional video)

RG #9: ZGMF-X09A Justice Gundam (on sale video)

RG #8: RX-178 Gundam Mk-II AEUG (on sale video)
 RG #7: RX-178 Gundam Mk-II Titans (on sale video) 

 RG #6: FX-550 Skygrasper Launcher/Sword Pack (none found on youtube...)
 
RG #5: ZGMF-X10A Freedom Gundam (promotional video)

RG #1 to 5 (promotional video)
 
RG #4: MS-06F Zaku II (promotional video)

RG #3: GAT-X105 Aile Strike Gundam (promotional video)

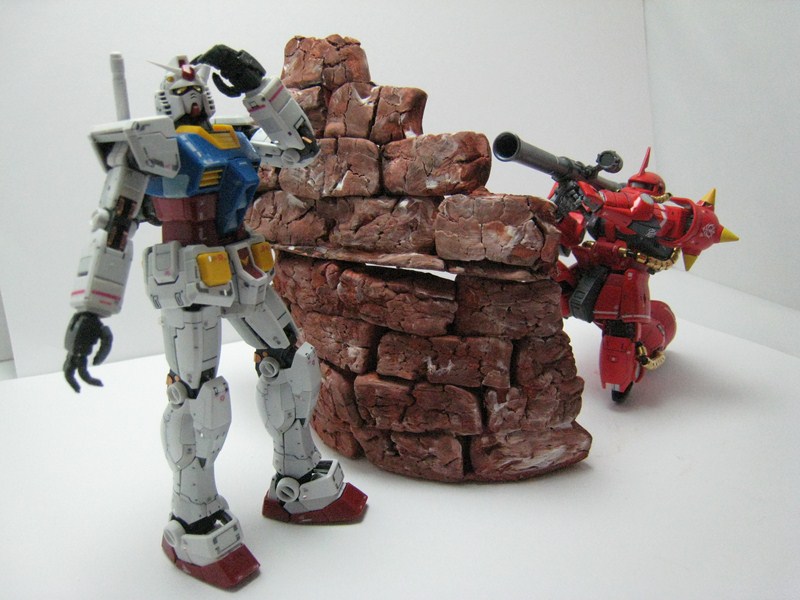
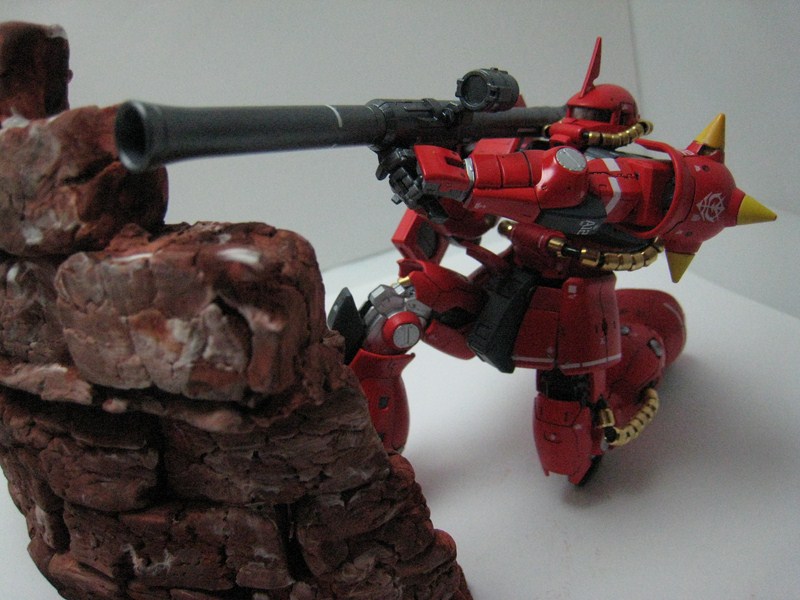
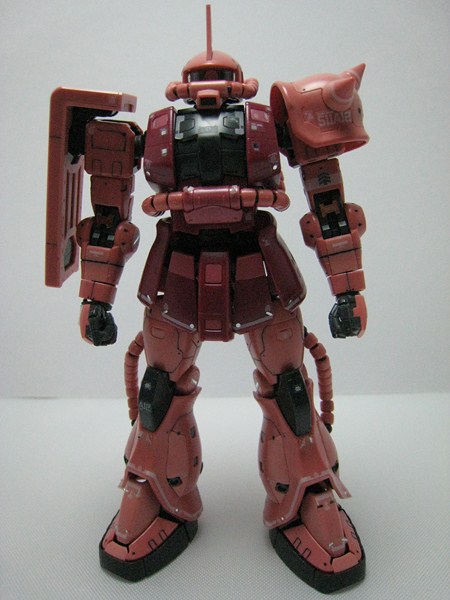
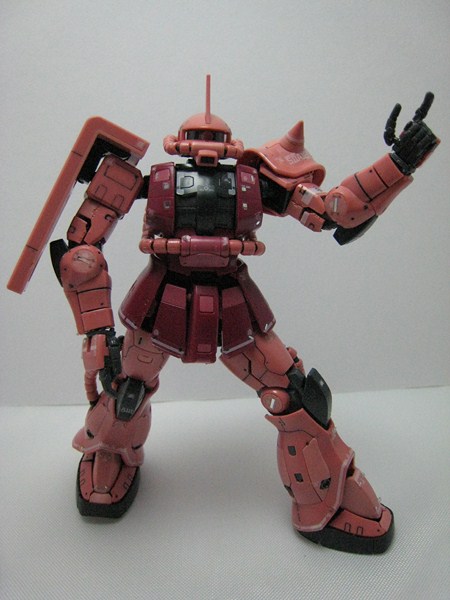
RG #2: MS-06S Char Zaku II (promotional video)


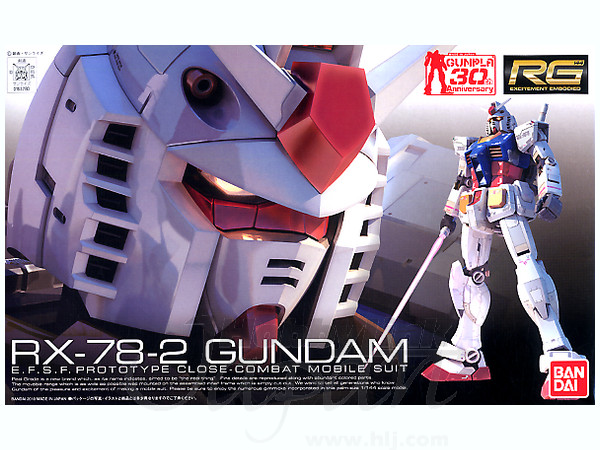
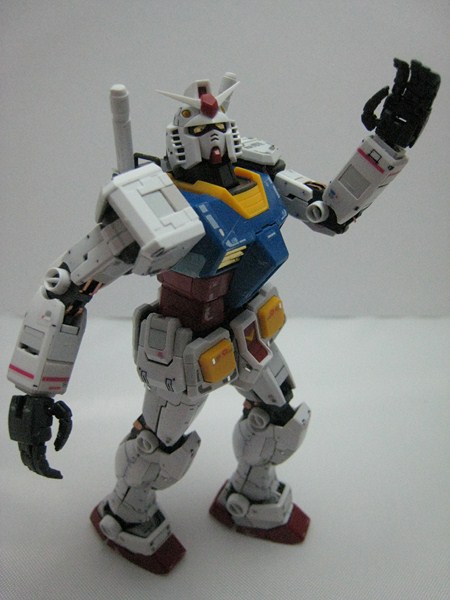
RG #1: RX-78-2 Gundam (promotional video)
  

Saturday 25 August 2012

WIP update 4: 1/100 MG Shin Musha Gundam - Painted to Black, White & Gold Scheme

Link to WIP update 1
Link to WIP update 2
Link to WIP update 3
Link to WIP update 4
Link to WIP update 5
Link to Completed Kit

Legs are done + hand-painted/panel-lined the head.
Pardon me for the crude work on the head, looks ok from far.
Close up, it sucks per the pictures taken.
Oh well, at least I learn something.
[updated 27 Aug 2012] Re-do the head piece, the prior work was too unsightly. Removed the paint and used masking (bluetac) and spray paint instead of hand painting. At least now I think it looks ok from close up but still have lots of room to improve on.


Wednesday 22 August 2012

Bandai System Weapons Set 001 & 002: Snapfit

First set of pictures for the Bandai Weapon Set 001 & 002.
Still deciding if I should paint these.

Some parts came assembled but the work there isn't fantastic, nub marks to clear (I've circled example of parts with obvious nub marks in red).
The decals have also been applied on behalf (quite decent work there, circled examples in yellow).
Would prefer though if they would leave it to me to do that...
Now cannot decide if I should paint or not to given that it would likely destroy the existing decals...

It comes with a small cute stand which I'll definitely do some painting.
Will update with more pictures once I decide what to do with these next.

Weapon Set 001


Weapon Set 002


Stand that comes with the weapon set (Can stack upwards)


Sunday 19 August 2012

WIP update 1: 1/144 RG RX-78: Painted to RX-78-CA Scheme

Link to WIP 1 
Link to WIP 2
Link to WIP 3
Link to WIP 4
Link to WIP 5
Link to completed kit

Quite hooked onto RG builds recently so I'm going to do another RG RX-78-2 build.
But this round, I'm going to spray it to RX-78-CA scheme.
Not much of an update at this stage, just finished the snapfit and now breaking them up into their various parts to facilitate the upcoming paint work.

Things I plan to do on this build.
- Inner frame mixture of tamiya gun metal & light gun metal
- Single color for the red portions but use black and white primer to get the different tone effect
- Hand paint some parts (eg the head vulcan)
- Shading using tamiya weather master

Box Art
Line art for the color scheme that I'm planning to do


In progress of dismentling the kit for painting.

DX Hobby SD Gundam Unicorn

Bought this kit for fun and to try something different (I already have the SD Unicorn by Bandai).
This kit was suppose to be able to switch between the Unicorn mode & the Destroyer mode.
On building the kit, realized that it ain't that easy switching between the 2 modes.

Cast quality is reasonable but the fitting is quite bad...
The left leg of my kit doesn't stay on and will fall off if I move it by just a little bit.
Adding to the problem is the ultra-small parts that tends to fall apart when I move something.
Took me more than 15 MINUTES to convert from unicorn to destroyer to take the pictures below.
Other things just keep falling apart when I move any part...
Quite frustrated so didn't take much photos...

Was planning (past tense!) to paint this but decided not to do so anymore post the snapfit.
As you would observe in the pictures, I started with the weapons which are painted.
Probably suitable for someone who likes the challenge of handling flimsy small parts (not me though so it's going back to storage)...


Light Tent using ikea products

Went ikea Tampines today and saw this storage box that looks perfect as a replacement for a light tent.
Being a bit lazy, find it troublesome to do all the cutting and pasting of box, white bristol boards, fabrics etc (not to mention not sure where to get the bristol boards and fabrics).

List of purchase to make this work:
- 2 storage box for S$29 (though I just need 1, it comes in a bundle so have to buy 2);
- Worklight @ $14.95 (doesn't come with any bulbs)
- 11W cool daylight Philip bulb @ $5.95 Bought another 24W bulb @ $10 as the 11W one wasn't bright enough. (The light bulbs at ikea all seems to be yellowish so I got this from the Giant across the road)
- Drawing paper to act as backdrop (FOC as I stunt these from my wife)

The results are quite reasonable (I'm not too picky).
Might have purchased the box a size too big though as it still seems a bit dark for some of the pictures taken.
Anyways, now we can take some good pictures even at night!

The first picture below is the set up (pardon my untidy work desk) and the rest are some pictures my wife took using the light tent (starring RG RX-78-2, RG Char Zaku & RG Zaku Johnny Ridden Scheme, DX SD Unicorn)
Cheers!